

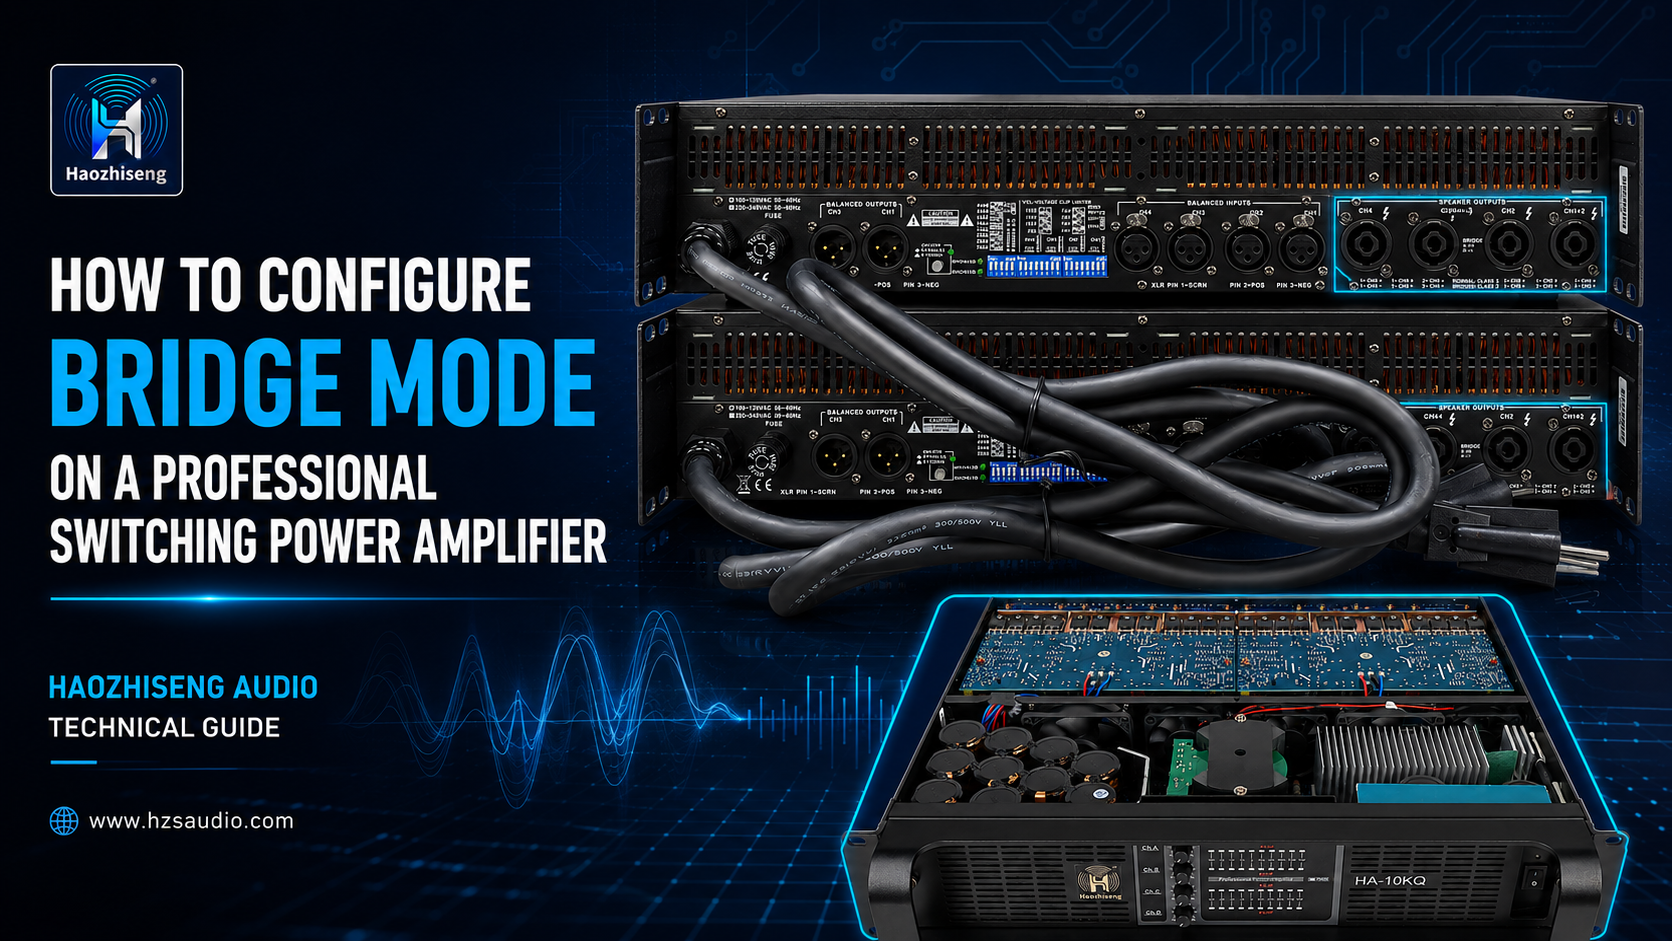
How to Configure Bridge Mode on the Haozhiseng Audio HA10KQ 4-Channel Switching Power Amplifier
Today, we will explain how to configure the Bridge 1+2 and Bridge 3+4 functions on the Haozhiseng Audio HA10KQ four-channel switching power amplifier.
HA10KQ Output Power
The HA10KQ is a four-channel switching power amplifier with the following stereo output ratings:
| Load | Stereo Output |
|---|---|
| 8 Ω | 4 × 1,350 W |
| 4 Ω | 4 × 2,100 W |
| 2 Ω | 4 × 2,500 W |
When configured in bridge mode, the HA10KQ provides two bridged outputs:
| Bridged Load | Bridged Output |
| 8 Ω | 2 × 4,400 W |
| 4 Ω | 2 × 5,000 W |
Rear Panel of the HA10KQ
The rear panel includes Bridge 1+2 and Bridge 3+4 switches, balanced inputs, output connectors, and level-control settings for each channel pair.
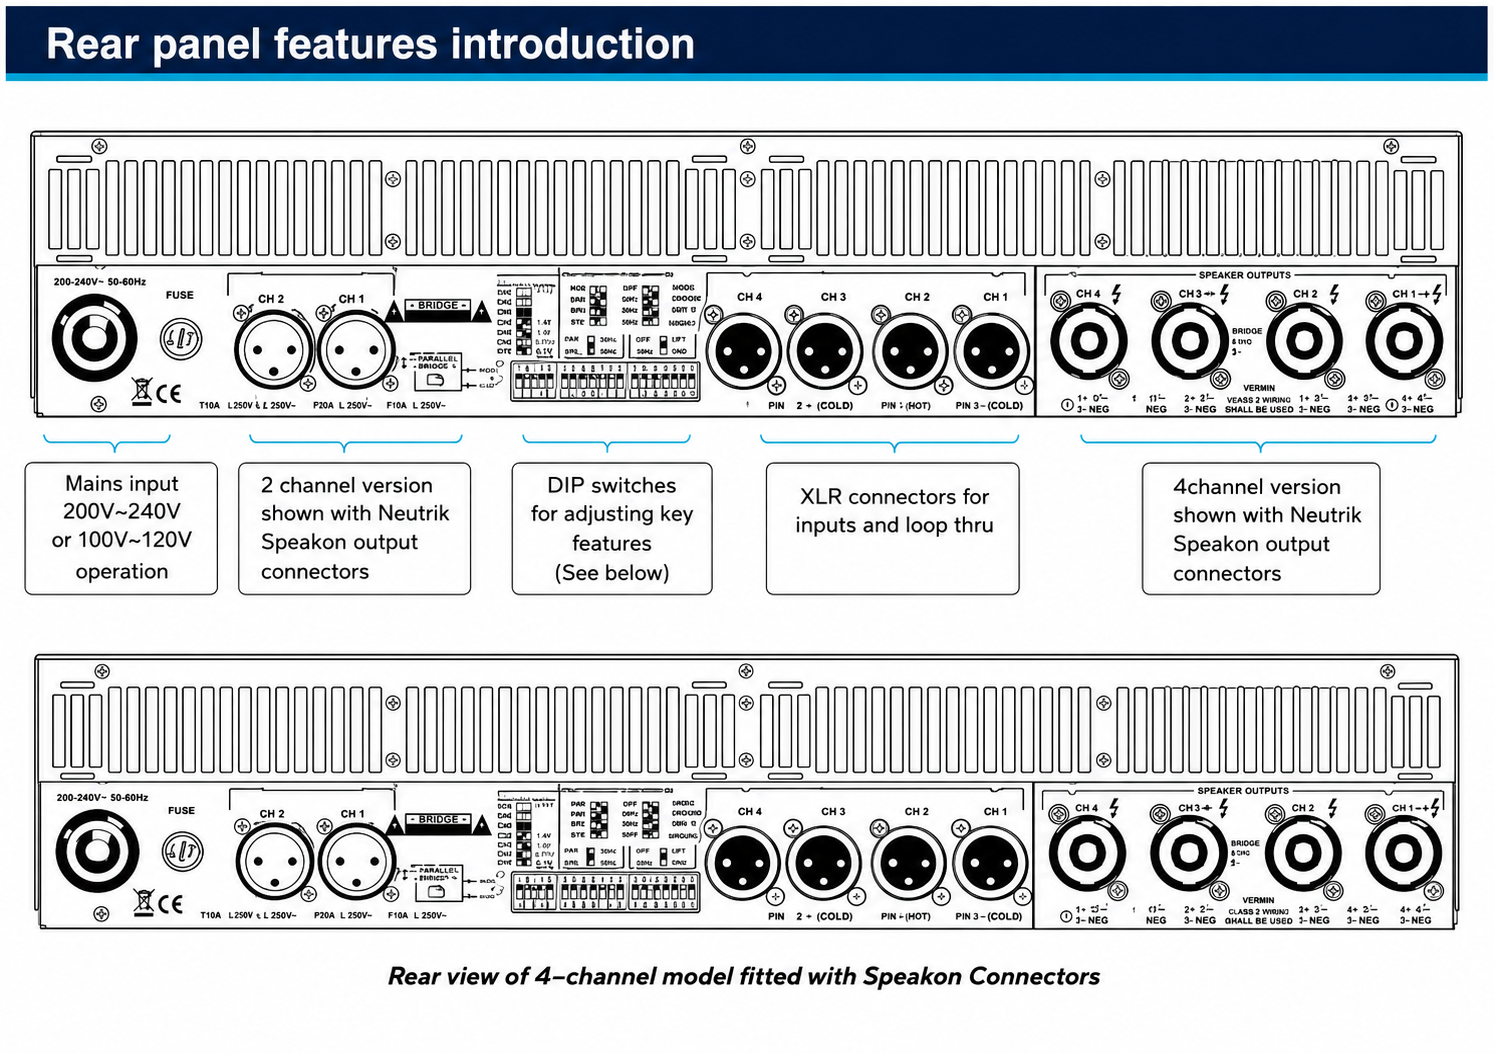
What Is Bridge Mode?
Bridge mode combines two amplifier channels into one higher-voltage output. On a four-channel amplifier, two channel pairs can be bridged:
- Bridge 1+2: Combines Channels 1 and 2 into one bridged output.
- Bridge 3+4: Combines Channels 3 and 4 into a second bridged output.
In bridge mode, the two channels operate together to produce a higher output voltage and increased power for compatible loudspeakers. This configuration is commonly used to drive high-power subwoofers and other loudspeakers designed for bridged operation.
Bridge mode should only be used when the connected loudspeaker impedance and power-handling capacity are suitable for bridged output.
Advantages of Bridge Mode
Bridge mode can provide:
- Higher output voltage from a pair of amplifier channels
- Greater available power for compatible loudspeakers
- Two independent bridged outputs from a four-channel amplifier
- A suitable solution for high-power subwoofer applications
Bridge mode does not make every loudspeaker compatible. Always check the amplifier’s minimum bridged load impedance and the loudspeaker’s power rating before making connections.
How to Configure Bridge Mode
Follow these steps to configure the HA10KQ:
- Turn off the amplifier before changing any rear-panel switches.
- Set the Bridge 1+2 switch to the Bridge position to combine Channels 1 and 2.
- Set the Bridge 3+4 switch to the Bridge position to combine Channels 3 and 4.
- Connect the loudspeakers to the corresponding bridge output terminals shown in the rear-panel diagram.
- Connect the input signal to Channel 1 for the Bridge 1+2 output.
- Connect the input signal to Channel 3 for the Bridge 3+4 output.
- Turn the level controls for Channels 2 and 4 fully counterclockwise to the minimum position.
- Use the level controls for Channels 1 and 3 to adjust the output level of the two bridged systems.
- Turn on the amplifier and test the system at a low output level.
- Monitor the signal, clip, limiter, and protection indicators during operation.
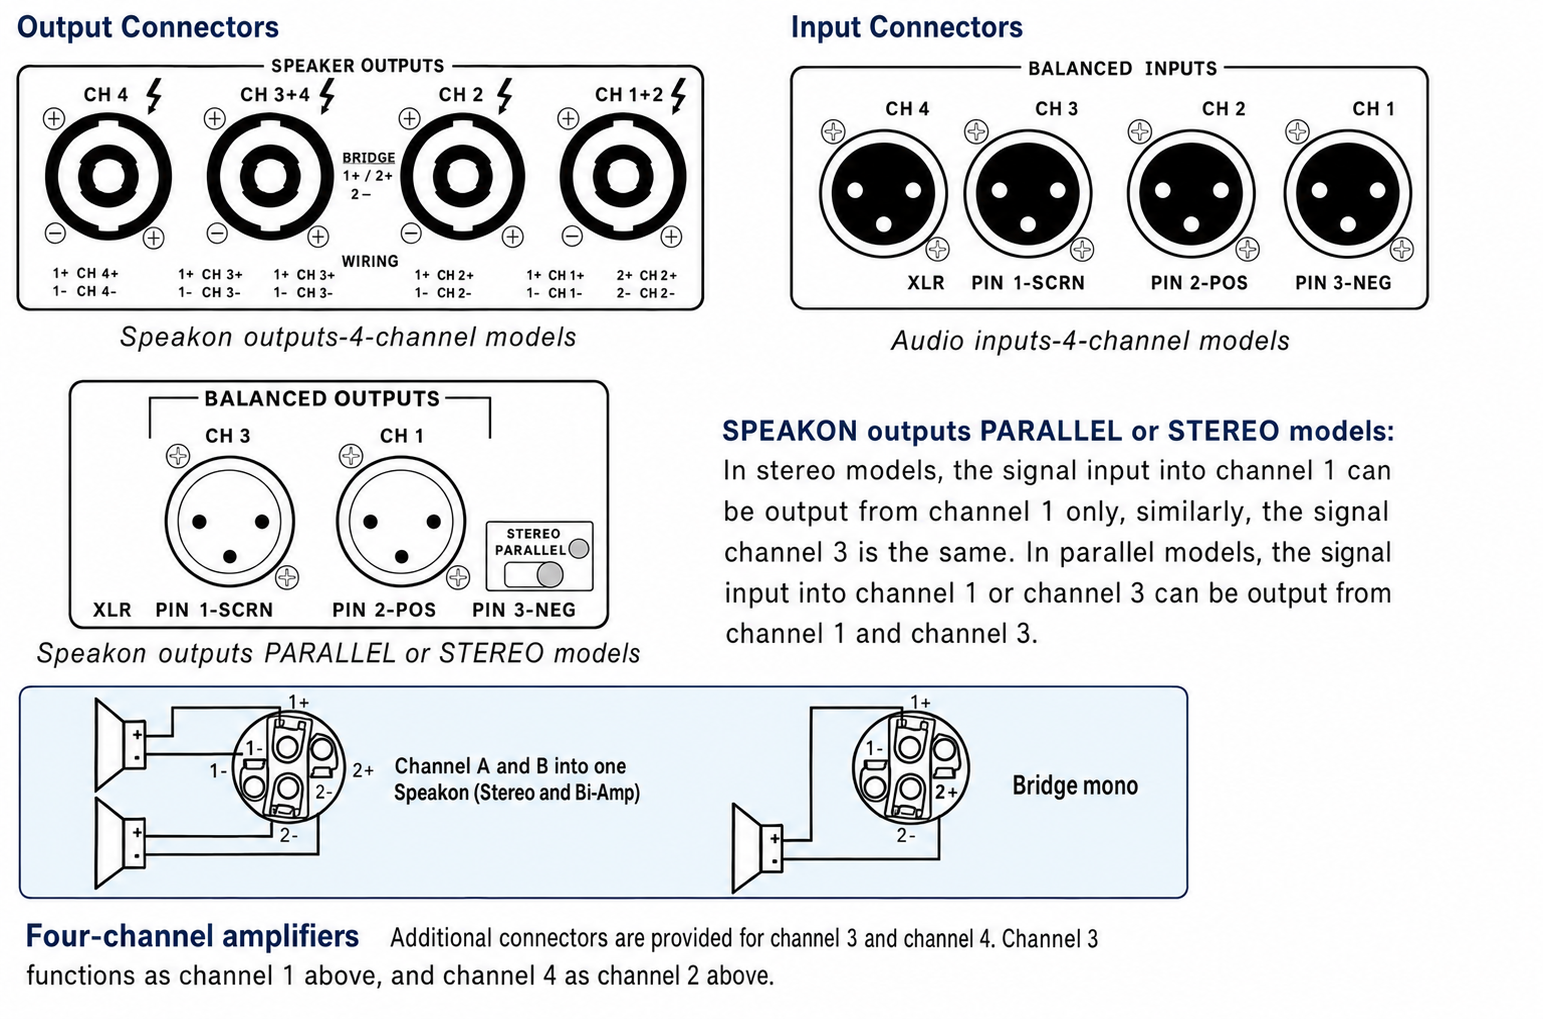
Bridge Output Wiring
When using bridge mode, connect each loudspeaker only to the bridge output terminals indicated on the rear panel. Follow the correct polarity markings and use suitable speaker cables and connectors.
Do not connect a bridged output to a standard single-channel output terminal, and do not connect the two bridged outputs together.
Parallel Mode
Parallel mode is different from bridge mode. Parallel mode distributes the same input signal to selected channel outputs, but it does not combine amplifier channels or double the output voltage.
In the HA10KQ four-channel configuration, the signal applied to Channel 1 can be routed to the corresponding outputs of the first channel pair, while the signal applied to Channel 3 can be routed to the corresponding outputs of the second channel pair. The exact routing depends on the rear-panel Parallel/Stereo switch configuration.
Use Stereo mode when each channel or channel pair requires an independent input signal. Use Parallel mode when the same input signal must be distributed to the selected outputs.
Important Safety Note
Bridge mode should be configured by a qualified audio technician. Before operation, verify the loudspeaker impedance, power handling, polarity, connector wiring, and amplifier protection settings. Correct system configuration is essential for reliable performance and safe operation.
Leave a Reply